

The step-by-step guide “How to juice different types of fruits and vegetables using a cold press juicer” is designed to help you understand and utilize the benefits of a cold press juicer. The purpose of this guide is to provide you with clear instructions on how to juice various types of fruits and vegetables using this specific type of juicer. By following the step-by-step instructions, you will be able to extract the maximum amount of juice and nutrients from your produce, and enjoy the health benefits that fresh juice can provide.
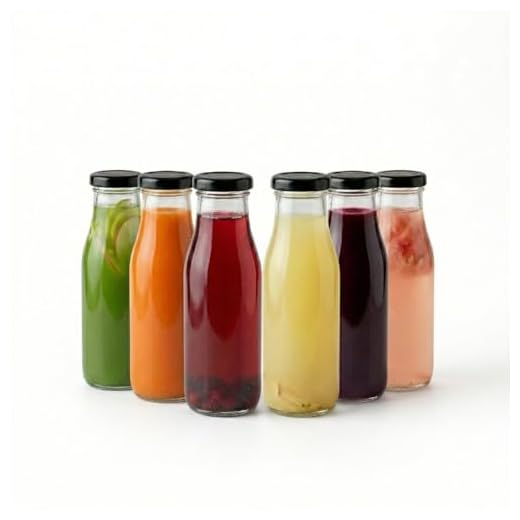
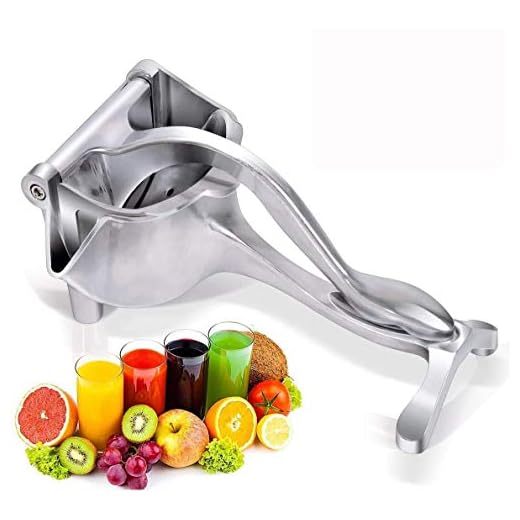
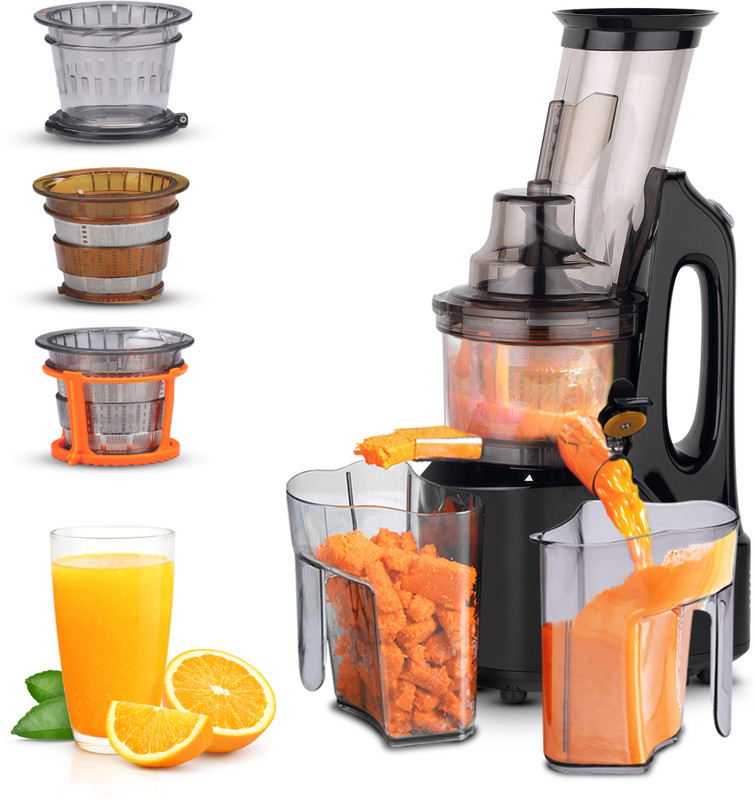
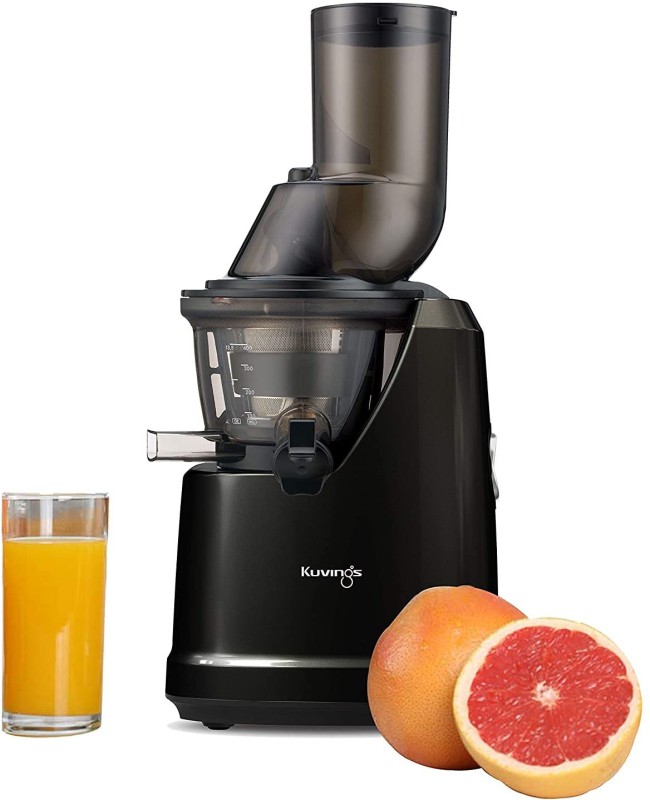
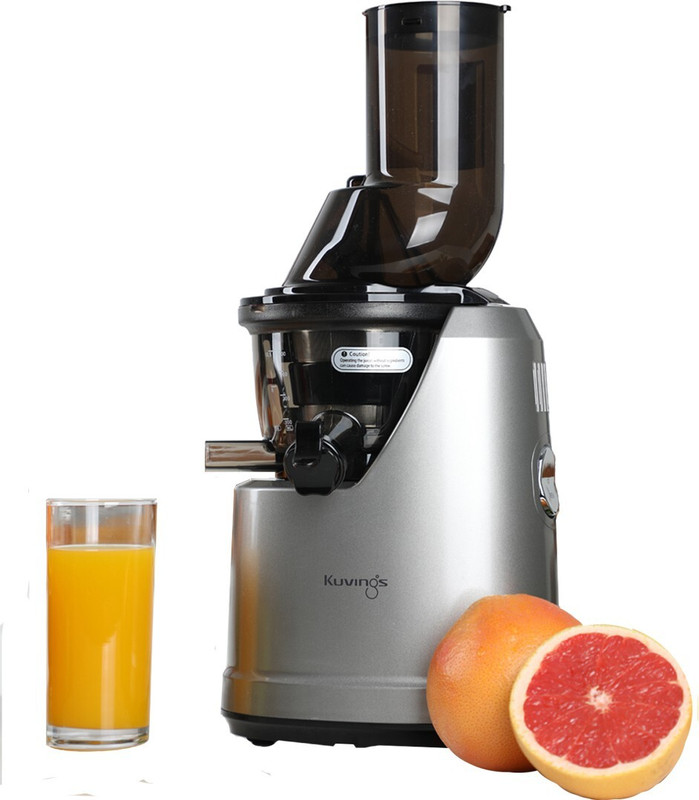
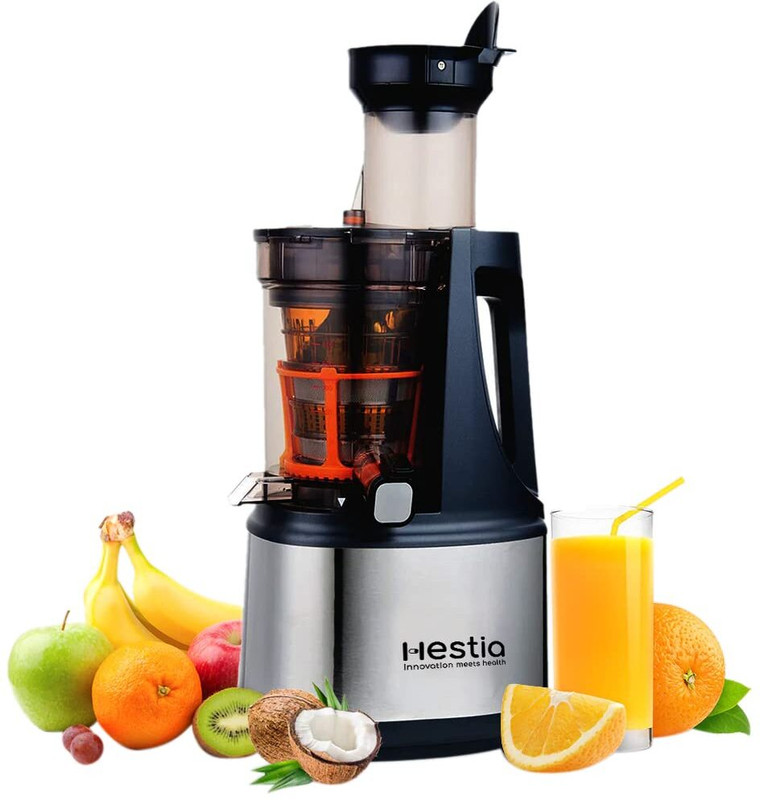
Top-Rated Cold Press Juicers


Which is Healthier for Your Body: Juicing or Blending? Dr. Mandell
Gather the necessary ingredients and equipment
To gather the necessary ingredients for juicing, start by selecting a variety of fresh and ripe fruits and vegetables. You can choose from options like oranges, apples, carrots, spinach, or cucumbers. Ensure that the produce is in good condition, without any visible signs of spoilage or damage. For example, pick oranges that are firm and have a vibrant color, or select cucumbers that are crisp and free from blemishes. Remember to wash the fruits and vegetables thoroughly before juicing them to remove any dirt or pesticides.
Next, make sure you have a cold press juicer at hand. This type of juicer is highly recommended as it helps retain the nutrients and flavors of the ingredients. If you don’t have one, you can consider borrowing or purchasing one from a nearby store. Additionally, you will need a sharp knife for cutting the produce into smaller pieces that can fit into the juicer’s feeding chute. A sturdy, well-sharpened chef’s knife is ideal for this task. Make sure to handle the knife with care and keep your fingers away from the blade to avoid any accidents.
Once you have gathered the fruits and vegetables and have your cold press juicer and knife ready, you are all set to start juicing.


Prepare the fruits and vegetables
To prepare your fruits and vegetables for juicing, follow these simple steps:
- Wash the produce: Start by thoroughly rinsing your fruits and vegetables under cool running water. This will help remove any dirt, bacteria, or pesticide residues present on the exterior.
- Peel if necessary: Some fruits and vegetables have a tough or bitter skin that may affect the taste of your juice. If needed, peel the produce using a peeler or a knife. Examples of fruits that are commonly peeled include oranges, pineapples, and bananas.
- Cut into small pieces: To ensure optimal juicing efficiency, cut your produce into small pieces that can easily fit into the juicer’s feeding chute. This will prevent clogging and allow for a smoother juicing process. Aim for uniform pieces that are approximately 1-2 inches in size.
- Remove pits, seeds, and cores: Certain fruits, such as apples or cherries, may have pits or seeds that can affect the texture or taste of your juice. Make sure to remove them before juicing. Additionally, remove any hard cores from fruits like pineapples or melons, as they can be challenging to juice.
By following these steps, you will ensure that your fruits and vegetables are properly prepared for juicing. Remember to always handle your produce with clean hands and use a clean cutting board and knife to avoid cross-contamination. Enjoy the fresh and nutritious juice you create!
Set up the cold press juicer
To assemble the cold press juicer, start by carefully reading and following the manufacturer’s instructions. Make sure you have all the necessary parts and tools before you begin.
First, locate the main body of the juicer and place it on a clean, flat surface. Then, attach the feeding tube to the designated opening on top of the main body. Ensure that it is firmly connected and aligned properly.
Next, take the auger and insert it into the main body, rotating it gently until it fits securely. Double-check that it is correctly aligned with the feeding tube.
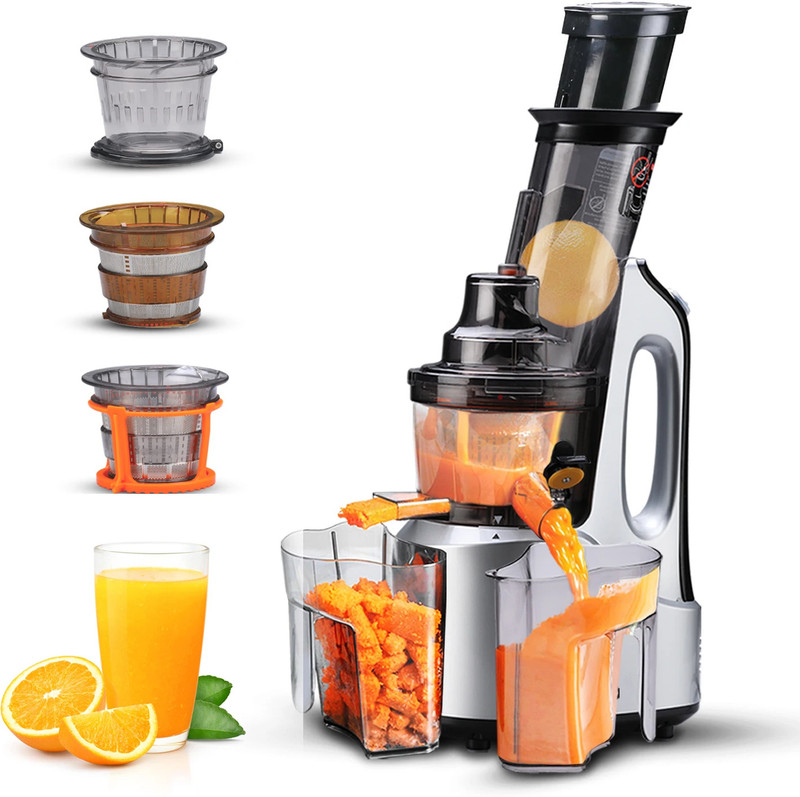
After that, attach the juice strainer or filter to the bottom of the main body. It should easily snap or screw into place, depending on the model. This filter is essential for separating the pulp from the juice.
Now, it’s time to attach the juice collection container. Place it underneath the juice strainer, making sure it is aligned and securely attached. This container will collect the freshly squeezed juice.
Lastly, check all the connections and make sure everything is tight and properly aligned. Once you have assembled the cold press juicer, you are ready to start using it to extract fresh, nutrient-rich juice from fruits and vegetables.
Remember, following the manufacturer’s instructions is crucial to ensure the proper assembly of your cold press juicer. When in doubt, refer back to the instructions or consult customer support for assistance. Enjoy the benefits of your freshly pressed juices!
Begin juicing
To begin juicing, turn on the cold press juicer and place it on a stable surface. Ensure that the juicer is clean and free from any residue. Take the prepared fruits and vegetables and start feeding them into the juicer’s feeding chute. Make sure to remove any seeds, pits, or tough skin from the produce beforehand. Once you have placed the produce in the chute, use the juicer’s plunger to gently push it down. Apply a steady, even pressure to help extract the juice effectively. Continue feeding the fruits and vegetables into the juicer, using the plunger as needed, until you have juiced all the desired produce. Remember to follow the specific instructions provided by the manufacturer of your cold press juicer for optimal results.
Collect the juice
To collect the juice, position a container or glass directly beneath the spout of the juicer. Ensure that the container is large enough to hold the amount of juice you expect to extract. This will prevent any spillage or mess. Once the container is in place, allow the juice to flow freely by activating the juicer. Make sure to avoid any obstructions that could disrupt the flow. It is crucial to keep the path clear for the juice to easily pour into the container without any interruptions. By following these simple steps, you will effectively collect the freshly extracted juice from the juicer without any hassle or inconvenience.
Repeat the process
To continue juicing the remaining fruits and vegetables, simply follow the same process as before. Start by selecting the next batch of produce you want to juice. Wash them thoroughly to remove any dirt or residue. Cut them into smaller pieces that will fit into your juicer easily. Remember to remove any seeds or pits if necessary.
Next, insert the prepared fruits and vegetables into the juicer chute, ensuring that the machine is securely assembled and turned on. Use the pusher to gently guide the produce into the juicer, allowing the blades to extract the juice.
As you progress, feel free to experiment with different combinations of fruits and vegetables to create unique juice blends. This will allow you to discover new flavors and variations that suit your taste preferences. Remember to take note of any particularly delicious combinations for future reference.
Continue repeating this process until all the fruits and vegetables have been juiced. By following these clear, easy-to-follow instructions, you will be able to efficiently and effectively juice your produce, creating refreshing and healthy juices.
Clean and maintain the juicer
After juicing, it is important to properly clean and maintain your juicer to ensure its longevity and optimal performance. To start, disassemble the juicer by removing all detachable parts. This usually includes the juice container, pulp container, strainer, and any other removable components.
Once disassembled, thoroughly clean each part using warm soapy water. Pay special attention to the strainer and any areas with pulp residue, as these can easily become clogged if not cleaned properly. Use a soft brush or sponge to gently scrub away any stubborn residue.
After cleaning, rinse each part thoroughly with clean water to remove any soap residue. Make sure to dry all components completely before reassembling the juicer. This will help prevent any moisture build-up or potential damage to the juicer.
It is highly recommended to follow the manufacturer’s instructions for cleaning and maintenance, as each juicer may have specific guidelines. This will ensure that you are properly caring for your juicer and maximizing its lifespan. By keeping your juicer clean and well-maintained, you can continue to enjoy fresh, nutritious juices for years to come.
Key Takeaways
In conclusion, juicing different types of fruits and vegetables using a cold press juicer can be a rewarding and healthy experience. By selecting fresh produce, ensuring a proper juicer setup, and regularly maintaining your juicer, you can achieve optimal juicing results. Remember that the quality of your ingredients directly impacts the taste and nutritional value of your juice. Additionally, setting up your cold press juicer correctly and cleaning it regularly will ensure its longevity and efficiency. So, get creative with your juice combinations, experiment with flavors, and enjoy the benefits of fresh and nutritious homemade juices. Happy juicing!
Necessary Equipment

Expert Advice
Instructions for Operating the Cold Press Juicer
- Start by thoroughly washing and preparing your fruits and vegetables. Remove any dirt or debris, and cut them into smaller pieces if needed
- Assemble the cold press juicer according to the manufacturer’s instructions. This usually involves attaching the different components, such as the feeding tube, auger, strainer, and juice container
- Plug in the juicer and make sure it is securely placed on a stable surface
- Begin by slowly feeding the prepared produce into the feeding tube. Use the provided pusher to gently push the ingredients down the tube. Avoid using excessive force or overcrowding the feeding tube to prevent clogging
- Allow the juicer to extract the juice at its own pace. Cold press juicers work slowly, using a gentle squeezing action to minimize heat and oxidation, which helps preserve the nutrients and flavor of the juice
- Once all the ingredients have been juiced, remove the juice container and discard any leftover pulp. You can use the pulp for other recipes or compost it if desired
- Remember to clean the juicer after each use to maintain its performance and prevent the buildup of residue. Disassemble the juicer and rinse the components with warm water. Use a soft brush to clean any hard-to-reach areas. Some parts may be dishwasher-safe, but always refer to the manufacturer’s instructions for specific cleaning guidelines
- Enjoy your freshly made cold-pressed juice immediately for optimal taste and nutritional benefits. If you’re not consuming the juice right away, store it in an airtight container in the refrigerator for up to 72 hours. Shake before drinking to ensure the best flavor distribution


I’ve been using a centrifugal juicer, but after reading this article, I’m definitely considering switching to a cold press juicer.
I appreciate the emphasis on the health benefits of juicing. It’s motivating me to incorporate more fruits and vegetables into my diet.
Great article! I learned a lot about juicing different types of fruits and vegetables using a cold press juicer.
I never knew that you could juice leafy greens like kale and spinach. Thanks for the helpful tips!
Is there a specific brand or model of cold press juicer that you would recommend for beginners?
It would be great if you could include some recipes or ideas for using the leftover pulp from juicing.
Do you have any recommendations on which fruits and vegetables to juice together for the best flavor combinations?
I loved the step-by-step instructions and the photos that accompanied each section. It made it really easy to follow along.